Working with webhooks
Webhooks are set up and defined inside the Spoonity Dashboard.
Setup
Webhooks are managed within the Integrations section of the Spoonity Dashboard.
After navigating to the Integrations page, select the Configuration tab, and scroll to the bottom of the page to view registered webhooks and/or add a new one.
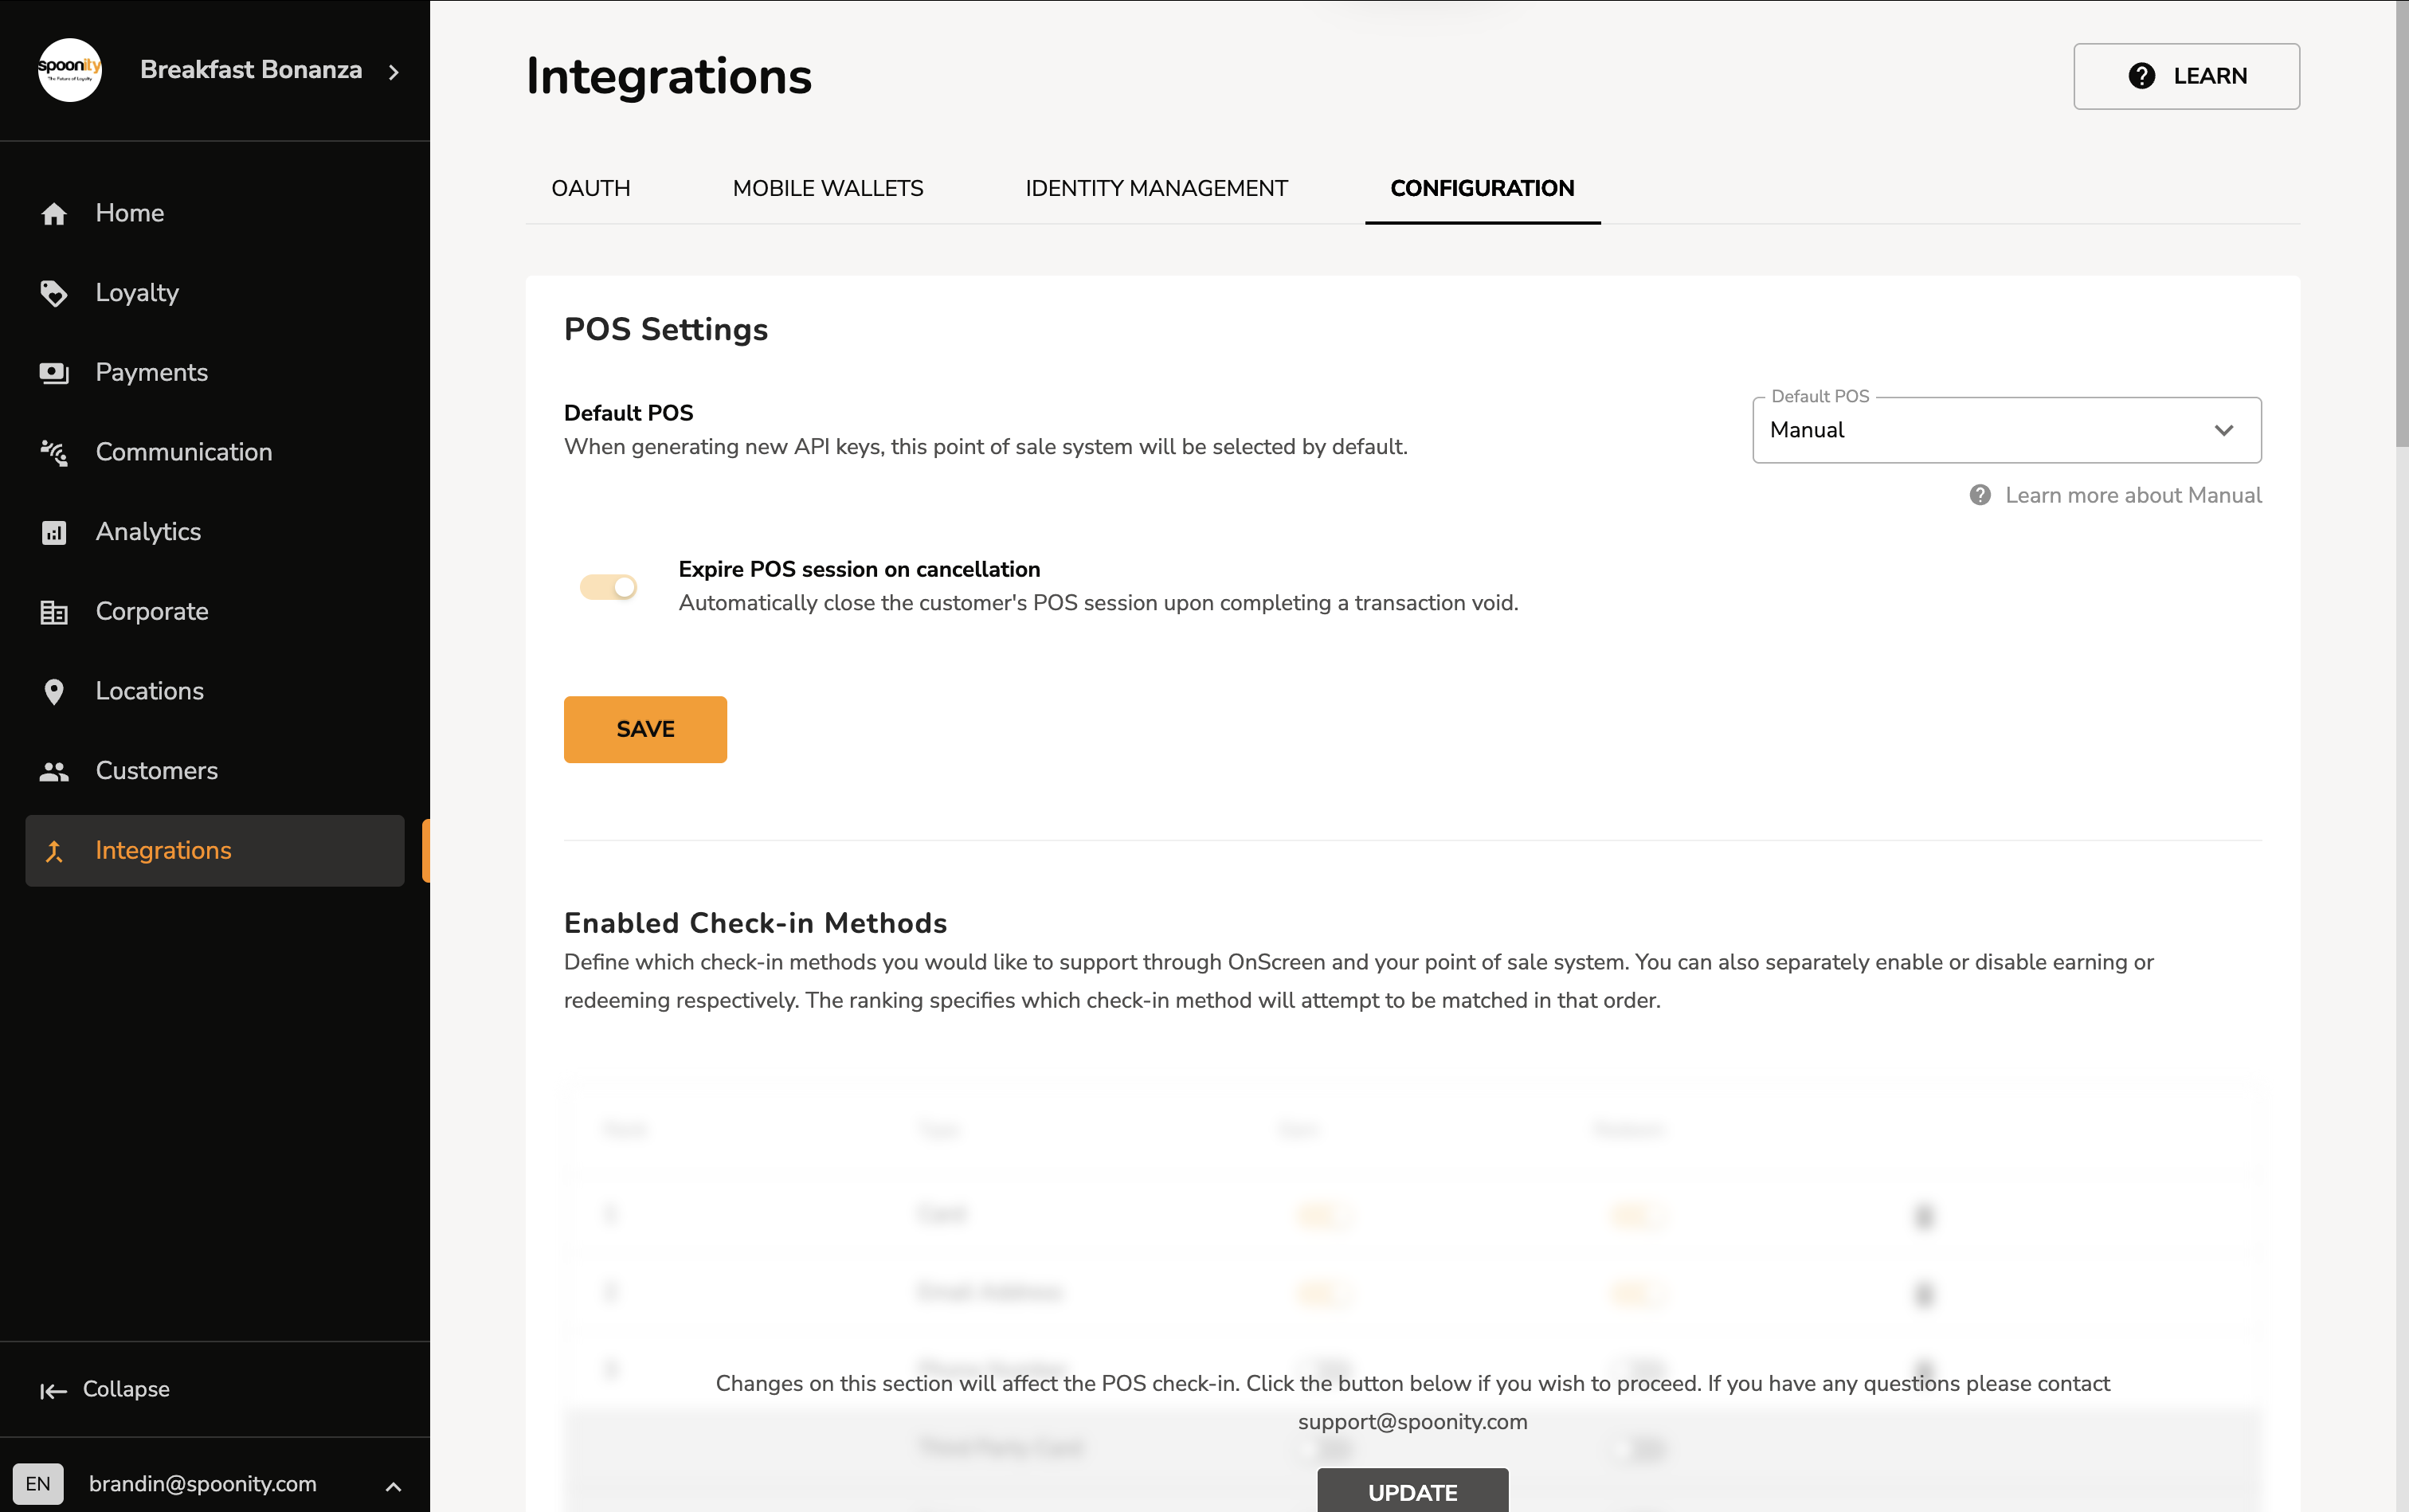
Navigate to the Integrations page
Select the Integrations item from the sidebar. Next, click on the Configurations tab which is located at the far-right of the tab menu from the Integrations menu.
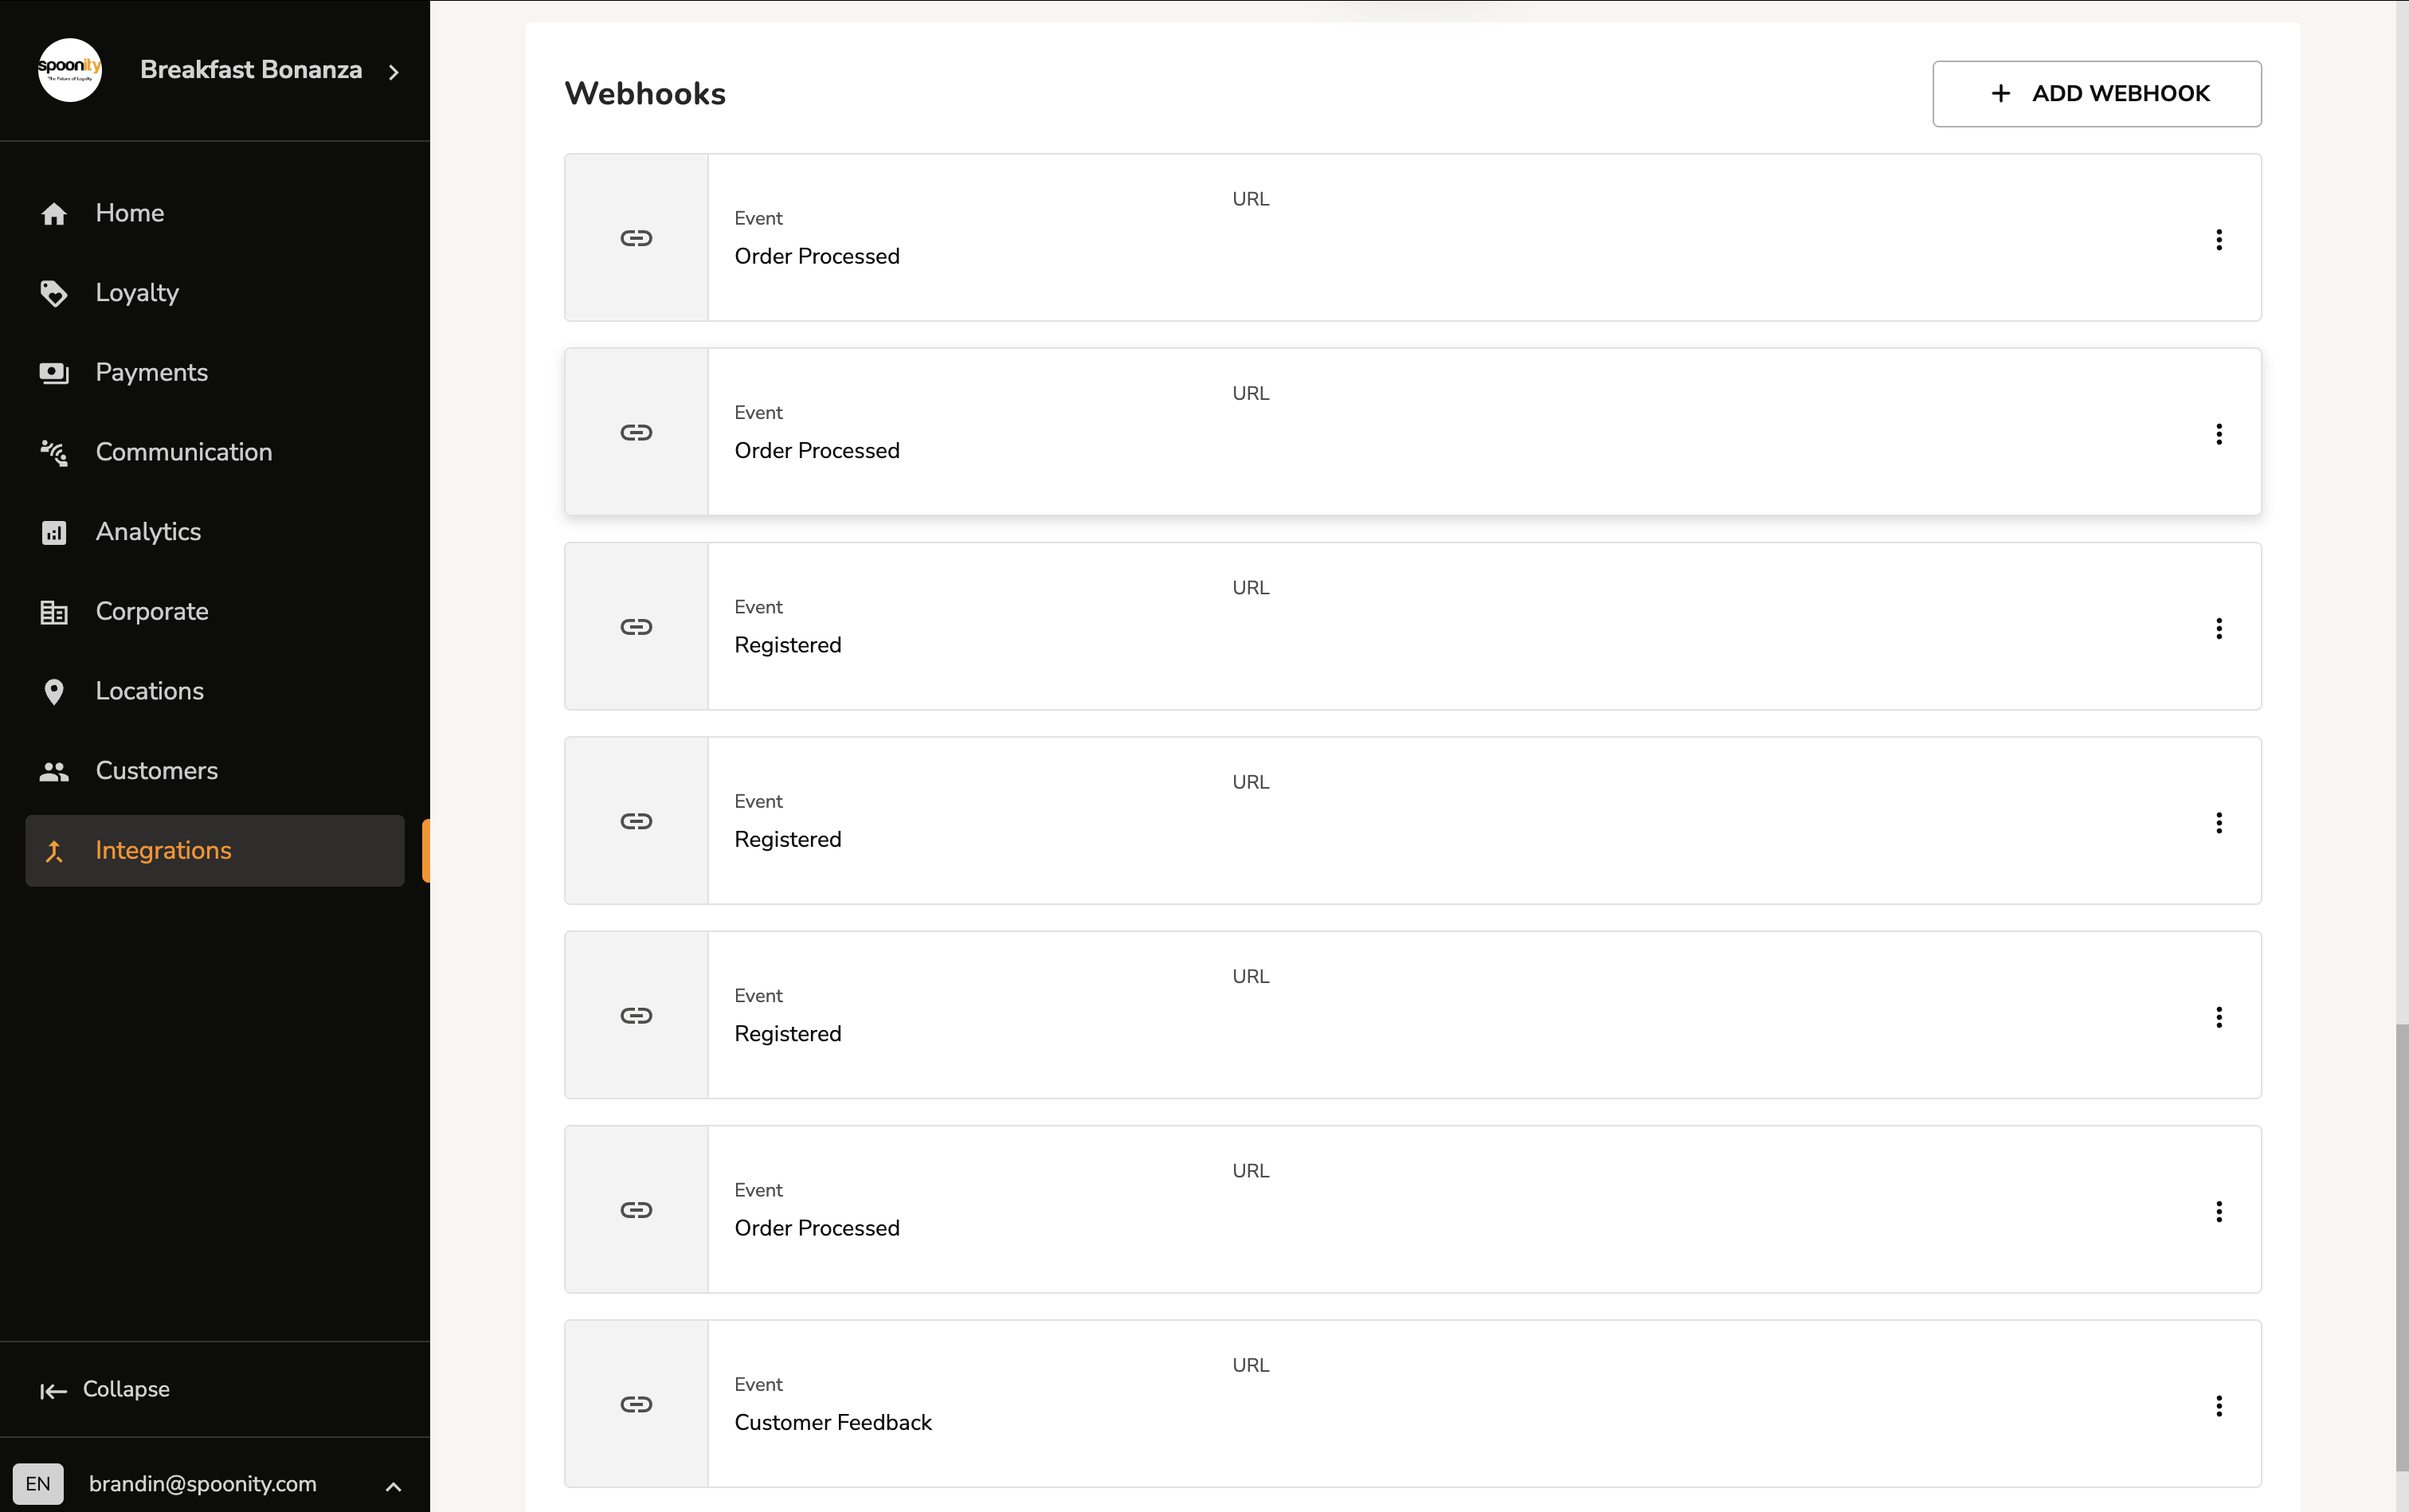
Scroll to the Webhooks section
Scroll to the bottom of the page to find the Webhooks section. Here you will be able to see your list of active webhooks, and a button to register a new one.
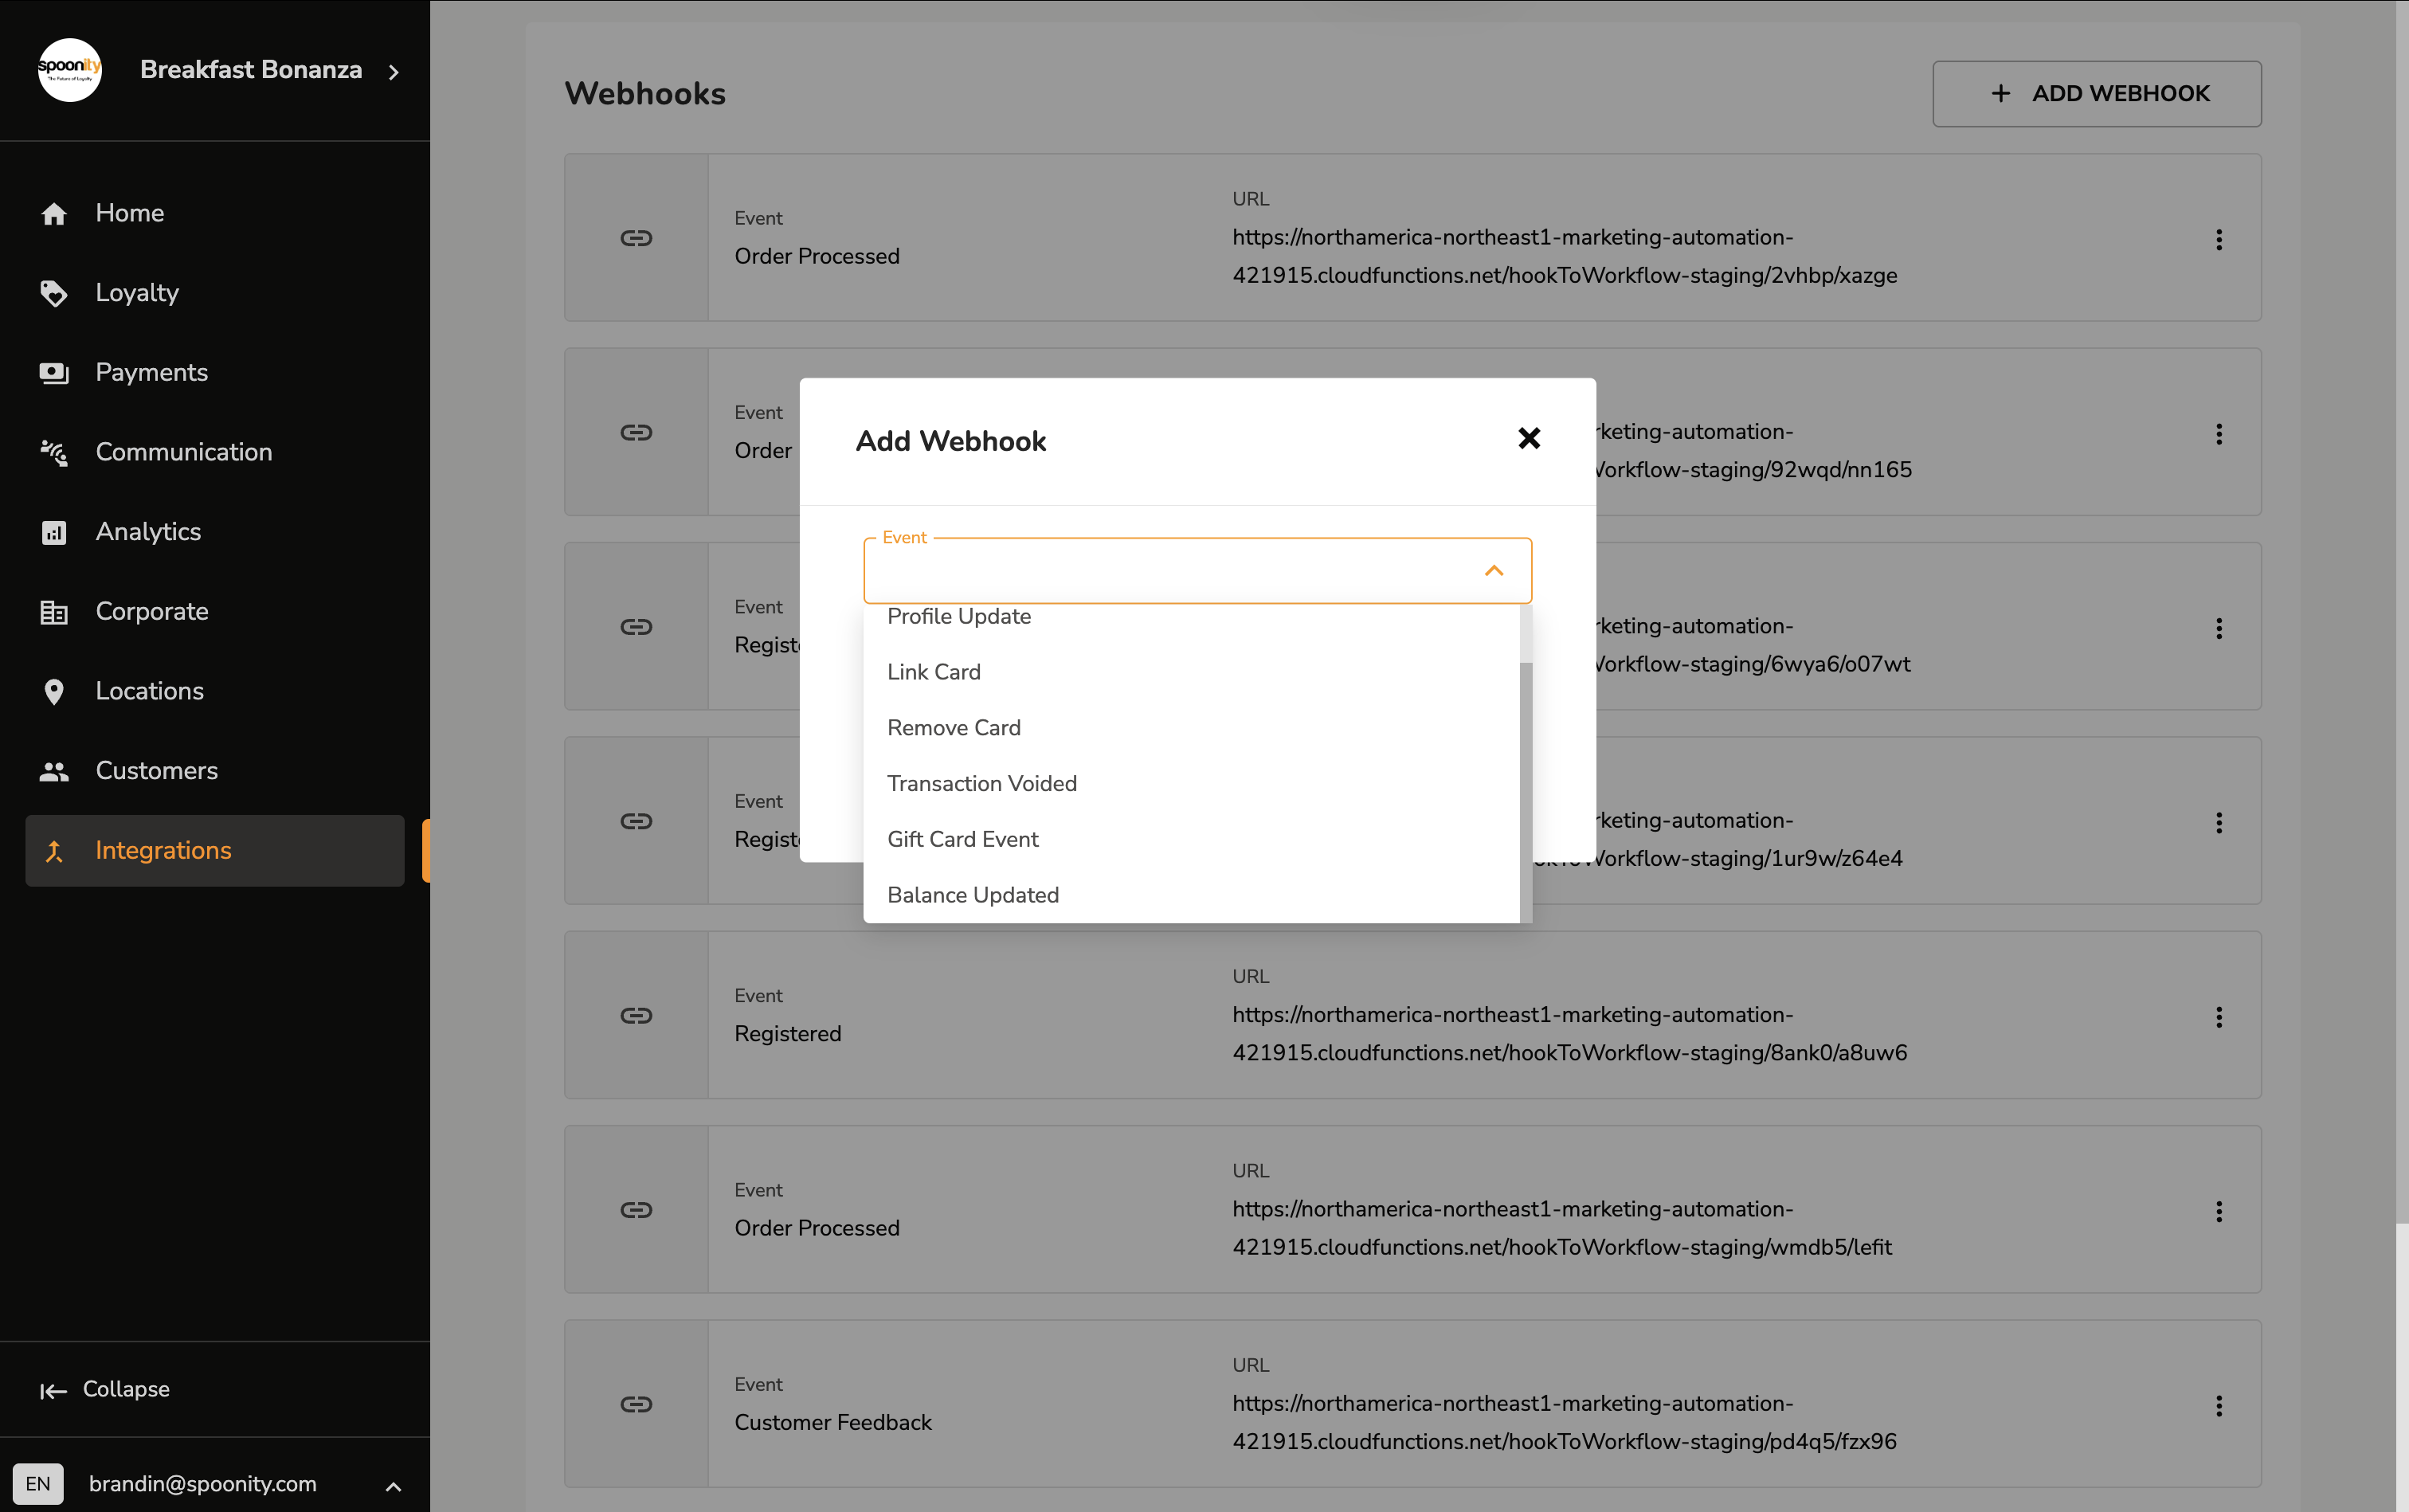
Add a new webhook
Click on the "+ Add Webhook" button to register a new webhook. From here, you can select an event to respond to, and enter a URL to send the event data to.
Additional notes
Spoonity webhooks are fired as a response to particular events that occur within the Spoonity platform. Users can register multiple webhooks for each supported event.
While we strive to ensure a high level of reliability, for our webhooks service, there are several important considerations that integrators should be aware of.
At this time, Spoonity webhooks do not support:
- signatures
- automatic retries
We aim to add these, and other important features to our webhooks service in the future.
If these features are important to you, then please reach out to provide feedback to our team.